
This article explains how to customize a header of any Magento CMS or Module page without additional Magento theme development.
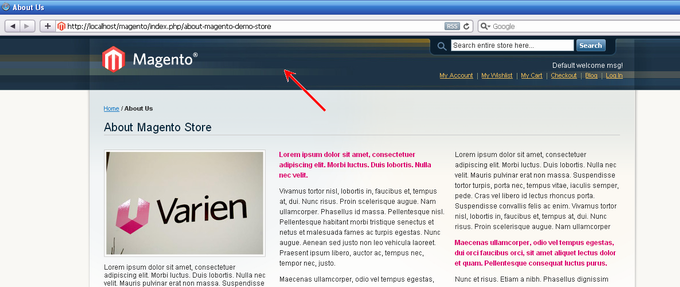
In this example we consider CMS-page “About Us”.
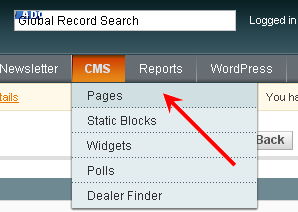
1. Enter to the admin and open the editor of the CMS pages:
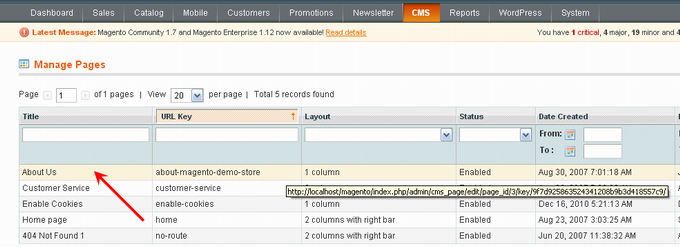
2. Open for editing the page “About Us”:
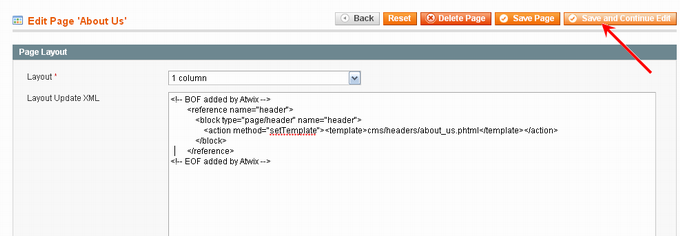
3. Go to the tab “Design”:
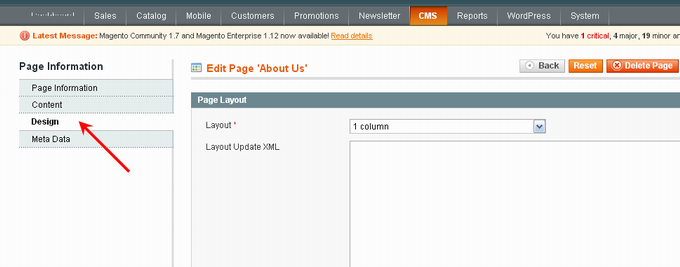
4. Add the following text in the section “Layout Update XML”:
<!-- BOF added by Atwix -->
<reference name="header">
    <block type="page/header" name="header">
        <action method="setTemplate"><template>cms/headers/about_us.phtml</template></action>
    </block>
</reference>
<!-- EOF added by Atwix -->
5. Save сhanges:
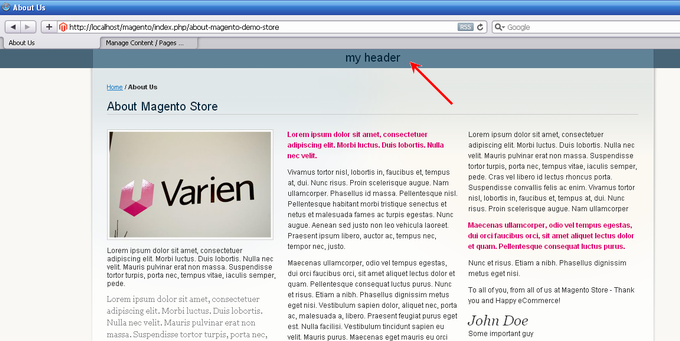
6. It should be noted that the file with new header is on the following address app/design/frontend/base/default/template/cms/headers/about_us.phtml and has the next contents:
<h1>my header</h1>
* Instead of the standard theme app/design/frontend/base/default/template/cms/headers/about_us.phtml, which was used in the example you can use the theme of your store.
7. After all the new page “About Us” will be look like this:
1. Prepare the file (for example, header.phtml) with a new header. Content of the new header.phtml will be like this:
<h1>my header</h1>
2. Copy the specified file in the folder where the files of the page Shopping Cart are, specifically in:
app/design/frontend/base/default/template/checkout/cart/header/header.phtml
* Instead of the standard theme app/design/frontend/base/default/template/checkout/cart/header/header.phtml, which was used in the example you can use the theme of your store
3. Create the file local.xml in the folder app/design/frontend/base/default/layout/ (or if this file has been already existed just open it for editing). In the file local.xml add the following code:
<?xml version="1.0"?>
<layout version="0.1.0">
<!-- BOF added by Atwix -->
    <checkout_cart_index>
        <reference name="header">
            <block type="page/header" name="header">
                <action method="setTemplate"><template>checkout/cart/header/header.phtml</template></action>
            </block>
        </reference>
    </checkout_cart_index>
<!-- EOF added by Atwix -->
</layout>
* In this example was used layout of the standard theme app/design/frontend/base/default/layout/local.xml. In your store use layout of the your store`s theme.
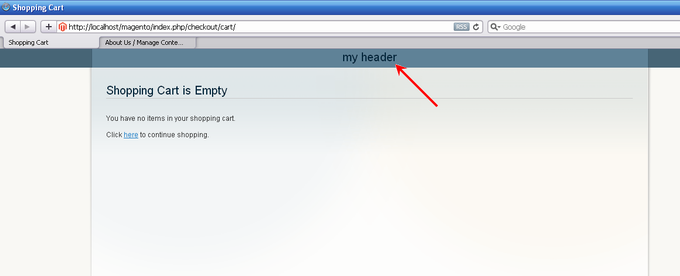
4. Save all your changes and update the Shopping Cart page.
As a result, we will see:
You may also want to read: